
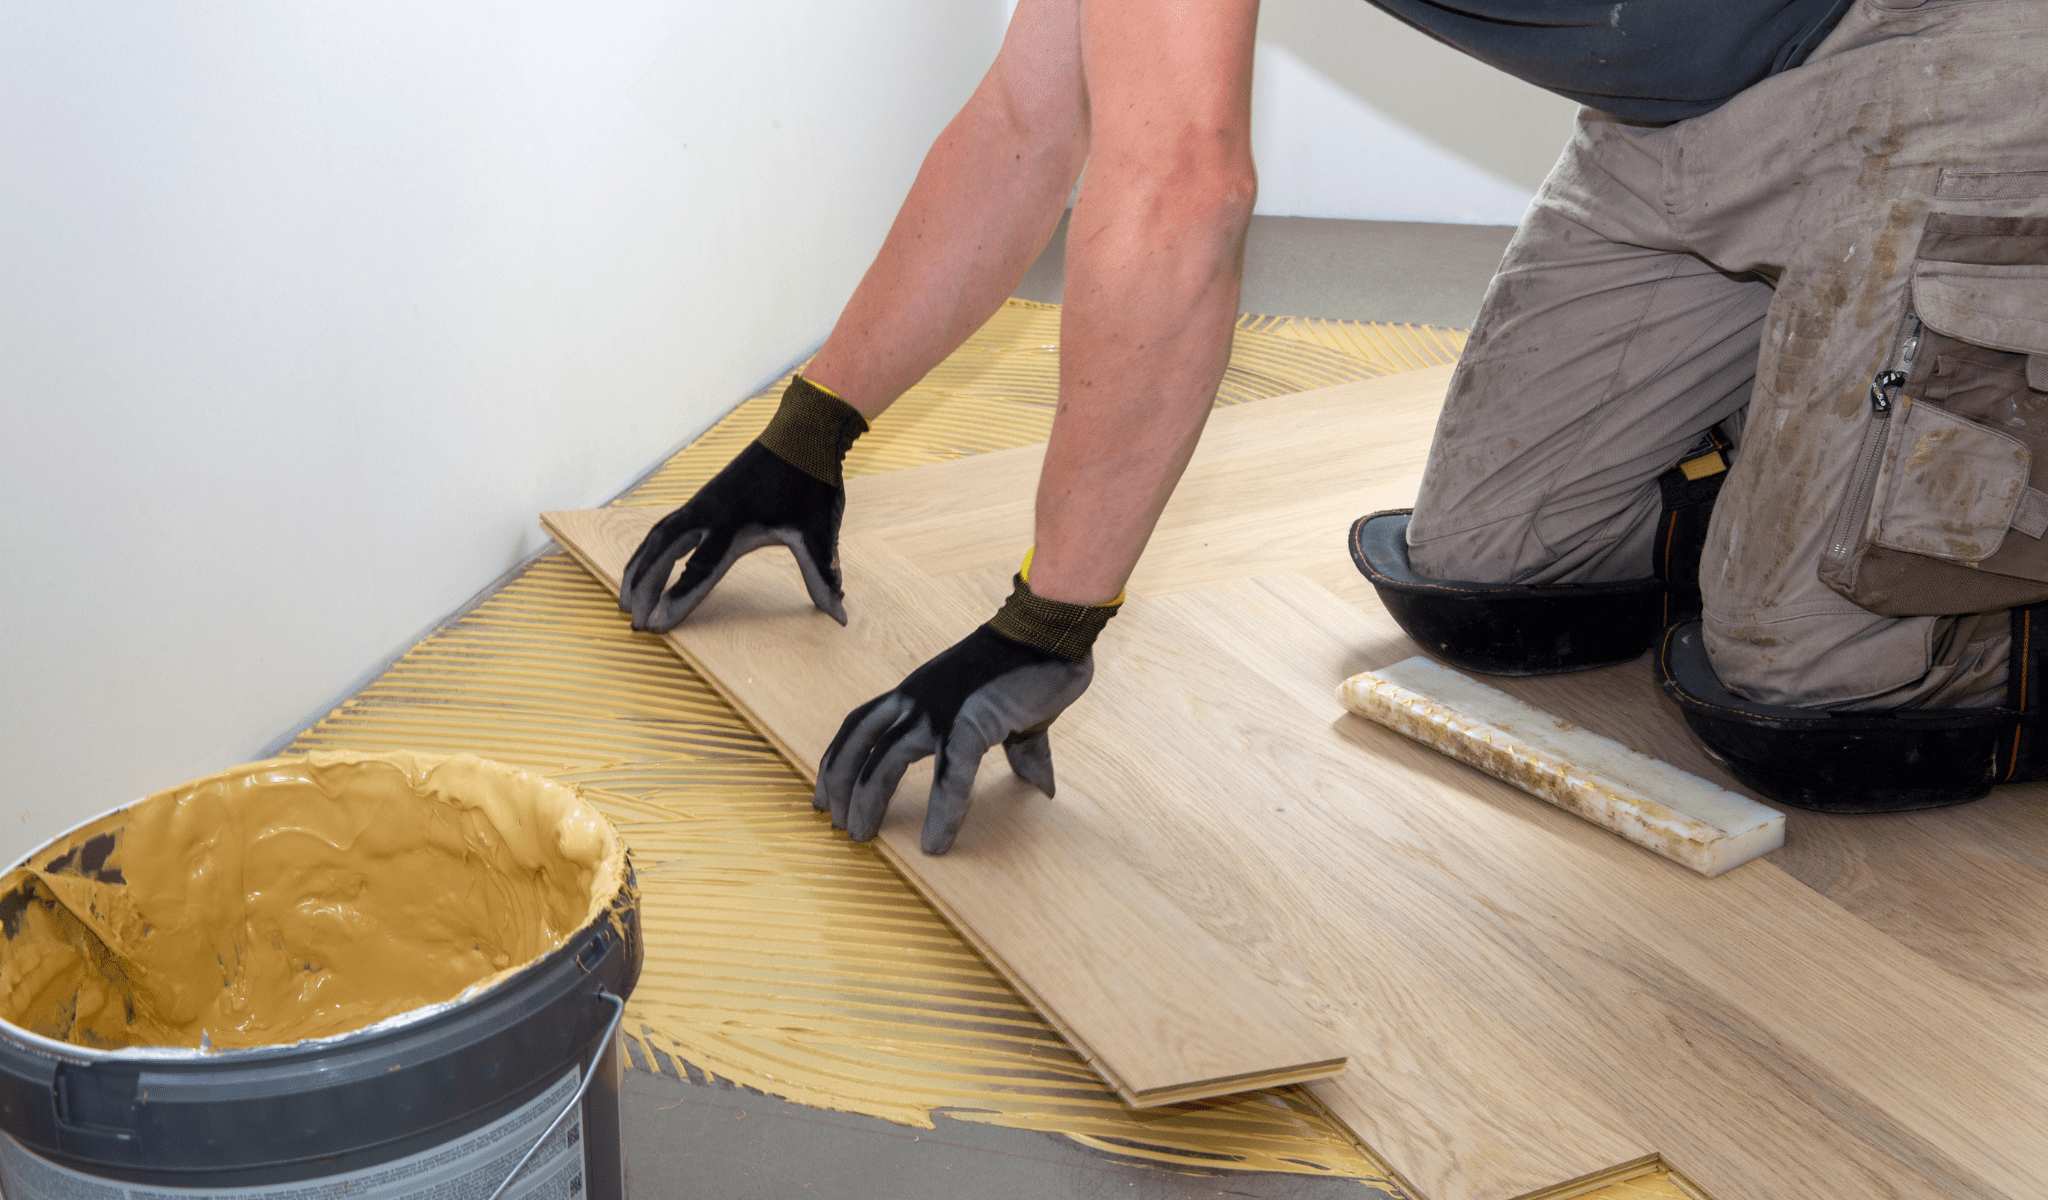
Herringbone flooring is a classic design choice that’s made a stylish comeback in modern homes and commercial interiors across South Africa. Known for its timeless elegance and visual impact, herringbone is no longer just for parquet wood – thanks to modern advancements, you can now achieve the same sophisticated look using luxury vinyl flooring.
In this guide, we’ll walk you through essential Herringbone Vinyl Flooring Installation Tips to help you get a professional-looking result, whether you’re a confident DIYer or working with an installer.
Start with the right preparation for a smooth installation.
Let your vinyl planks sit in the room for at least 48 hours before installation. This allows the material to adapt to the room’s temperature and humidity, reducing the risk of expansion or contraction after installation.
A flawless installation begins with a sound subfloor.
Never skip this step, vinyl flooring will reflect every bump or dip beneath it.
Proper planning ensures a balanced and visually appealing layout.
Symmetry is key to a successful herringbone layout.
This step ensures the pattern is balanced and aligned, avoiding awkward cuts around edges or corners.
Before applying any adhesive, dry lay a section of your flooring.
Dry laying reduces mistakes and provides a clear roadmap for the installation phase.
Take your time and work methodically for the best results.
This prevents the adhesive from drying out before the planks are laid.
Begin at your centre point and work outward.
Check alignment frequently, even a few millimetres off at the start can result in a noticeable misalignment as you progress.
When you reach the room’s edges:
Once complete, reinstall skirting boards or edging trims to conceal these gaps for a clean, professional finish.
Avoid these common errors to keep your flooring flawless for years to come.
With the right preparation, tools, and attention to detail, herringbone vinyl flooring installation can be a rewarding project that elevates any room. By following these expert-backed Herringbone Vinyl Flooring Installation Tips, you’ll create a professional-quality finish that combines luxury design with everyday practicality.
At Scelavi, our glue-down vinyl flooring offers the ideal canvas for your herringbone vision. Whether you’re refreshing a small space or transforming an entire home, our flooring solutions are designed to deliver both durability and visual impact.